Posts

Optimizing the Trigger Piston Design

Image
  Optimizing the design.... or more appropriately, optimizing the manufacturing process in design. In the picture, the above is a one-piece clone "piston" of the 2 stage trigger of an F-16. It's lathed on a mini-lathe, out of an OD=8mm brass. First, it has to be turned down to OD=7.5mm, then, the middle section has to be turned down to 4.5mm, then one end has to be drilled with an D=1/8" hole. This whole thing has approximately the same dimensions as the real one. The blunt nose section's precise shape is not important. The original is a circular dome (plastic injection molded part). But, mine is... well, filed on a lathe. The curve? I have no idea... well, about there. But... if you ain't got a lathe.... that is going to be very difficult to make. Just drilling a D=1/8" on an D=4mm hole is going to make you sweat. Any deviation on the center finding (or even wandering of the drill bit) will make it very obvious on these small diameter, thin walled part....

F-16 blk 50 Central Pedestal

Image
 I added a chopped off blk 50 central pedestal. This is a chopped off central pedestal. The 3D model came from the "ancient" Hempstick site, as one of the forum goers stated. This is a VR pit. I call it an Augmented VR pit (AVRPit). The panels are only there to provide positions and rigidity for knobs, switches and buttons. They don't even need to look good. But because I could, I will make them look good. I won't even bother putting in instruments like HSI etc. The visuals are provided by the VR goggle. All I need is the HDG, and Heading knobs, the barometric knob, and the fuel selection knobs, etc. I will just leave the holes uncovered... empty. Maybe I will put some color pictures in them so they don't look funny. Nevertheless, this pit is designed to be adjustable, and could be torn down, and reconfigured for PS5 Gran Turismo, and regular PC gaming with keyboard/mouse. I have the other two panels instead of the F-16 front panel too. The front panel could be qu...

F-16 (and other modern jets) Two-stage Trigger

Image
After weeks of struggling with the two stage trigger mechanism, I finally got it working! This is a difficult one. The difficulty lies in making it work consistently with durability. The former is made even more difficult by my desire of using all 3D printed parts, and eventually, I had to use some metal parts made with a mini-lathe. I imagine that you could use drill press with a good file to make this stuff, but it would require a lot of skills and patience. If you had that skill, you most likely has a lathe anyway. The one stage is easy. It's just the tolerance and nozzle diameter need to be considered and tested. And if you are willing to pay through the nose, you can buy springs at highly marked up prices for small quantity at Lee Springs online. It's not that I have a problem with high markup prices Lee's charges. It's a common practice to charge more for small quantity, as selling a small quantity order costs pretty much the same as a large quantity order, yet it...

F-16 ICP Analog Wheels

Image
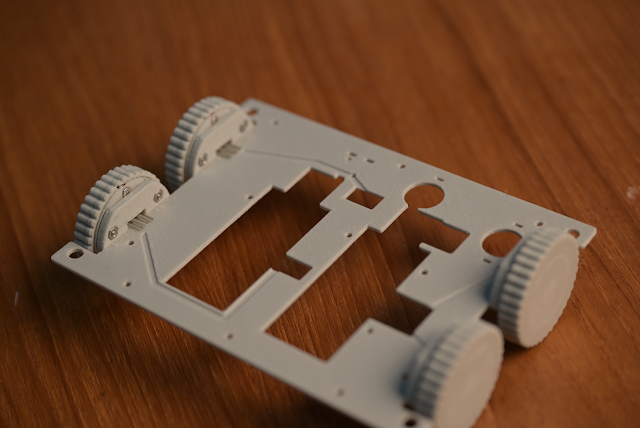
F-16 ICP analog wheels prototype works! That includes the PCB, MLX90316 chip, calibration, and programming of the sensor. Inside is a ball bearing, an MLX90316 chip/PCB, a few screws and mechanical stop. It will rotate 340 degrees, and stopped by a mechanical stop made with a screw and a 3D printed stop. They are programmed in-situ to output about 0.02 to 3.259 V, depending on the variation in 3D printing. It's almost rail-to-rail. A little Windows calibration will do just fine. Also, the input power supply is 5V, but the MLX900316 chip is programmed to output between 0.0V to 3.3V (clamped at 3.3V) so it fits the voltage range of the RPi Pico (Pico has a 5V input, and a 5V output too, and I take power from the 5V output). The two on the left are programmed to go clockwise rotation, and the right two are programmed to rotate counter-clockwise (increment), so that rotating up increases the voltage. For the programming of the MLX90316 chips, I had powered up one of the old old old com...

F-16 ICP PCB Made

Image
  It fits!

Optical Trigger Module Prototype

Image
While waiting for ICP PCB to be made and delivered, I picked up one of the many PhDs (Project half Done). This one is the 2-stage trigger module used in the F-16. The left is the disassembled real mil-spect OTTO trigger (something like USD $150+). The right hand one is the 3D printed prototype. They look very similar, and have similar 2-stage mechanism, but the materials are completely different and requires quite a bit of testings. See how many I printed so far in testing the 3D printing tolerance and some of the minor corrections. It's not even half way yet. Instead of using a mechanical microswitch like the original, I am using optical sensors so I can reduce the latency to the range of µs range. This is one button that latency matters! The springs bought from Lee Spring are ordered... but they are way too expensive at home made quantity. I will have to figure out a way to make the springs from piano wires. I have a mini-lathe, but I am contemplating on easier ways to make such ...

F-16 ICP Mechanical Design Fully Prototyped!

Image
The ICP's mechanical design is now fully prototyped. That is...  Everything you see in the picture is 3D modeled, 3D printed... Hot off the press, just file off the flashing/support materials... and assemble. No lengthy filing required. All the graphics is turned off when exporting... so 3D printed without graphics. Then, laser engraved. It's possible that you can use resin printers and print with the graphics with good result, but I am testing the worse case scenario, printing with filament printers. All buttons are backed with 0.9kgf stainless dome switches, resulting in very satisfying click, just like the real thing. The Dobber is backed with an off-the-shelf 5-way "joystick" I found and shared on ViperPits before. I am too lazy to do optical on this one... no need anyway. The toggle switches are commercial grade miniature toggles... not the Mil spec. one that costs USD $180 apiece. It's not cheap, about USD $10 apiece + S/H + tax. Not easy to find... and very...